|
Spiral gardens can be just for flowers or culinary herbs, dwarf evergreens, or medicinal and sacred plants. You can design an entire butterfly/pollinator garden within the spiral. It can be any size you like, and it can be a combination of spirals flowing into one another across the landscape. These are basic instructions for creating a fairly easy spiral garden. |
||
|
Decide where you would like to build your spiral garden, and place a stake into the central point. I just eyeball stuff, but go ahead and measure if you want to be precise. These instructions are for round,
flat spiral gardens that are fairly easy to do. It should take an hour
or two, depending on how large, whether you need to prepare the ground,
and how many plants you're installing.
Attach a string or rope to the center of the stake, and stretch it out to determine your perimeter. Make a line in the soil with another stake so you know precisely where your circle begins and ends. Clear out all weeds that are growing in the area that you plan to use. Cut a piece, or pieces, of black landscape fabric, ensuring there is enough overlap, in order to block weeds below and surrounding the spiral garden. The black fabric will keep light out and weeds down. It's permeable, so water will pass through into the garden bed. I haven't found big, round landscape fabric yet. Use long, galvanized landscape staples to attach the fabric into the ground so that it stays in position. I use a rubber mallet to get them flush with the ground and I know they're going to be securely holding down the fabric. Fill the entire circle with well-draining potting soil mix, not the dirt from the ground, and add any amendments you wish, like compost, and tamp it down.
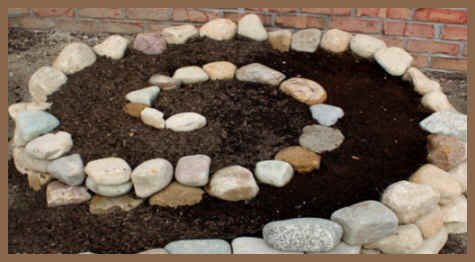
Create a spiral pattern with markers or
stakes, starting at the center of your circle, and working your way out.
Place stones or pavers on the inside of your markers, to help support the dirt. These will also help you while you're pouring the dirt. The stones around the spiral store solar heat, and pass it back to the plants at night. They like that. Pour soil along the inside of the markers, starting at the bottom, and making sure that the spiral rises up a little, gradually, as you move toward the center of the circle. Lay the bricks or stones you chose on top of the spiral in the same pattern as your outer structure.Add soil under the bricks to level as needed. You can use the rubber mallet to adjust and level the stones or bricks. If you're going to use soaker hoses in this garden, place them on the soil before adding the plants and mulch. Pay attention to where you want the hose ends to be, for easy access in connecting your main hose. Add more soil, and plant your flowers or herbs, chosen according to your USDA hardiness zone map for perennials to make it through your winter. Annuals are planted every spring, because they don't survive frost.
Check
out the companion planting page to make sure your herbs and
flowers will get along. Plant the shortest plants at the outer edge of the spiral, and taller plants near, or at the center. If using decorative items, keep them small, with a larger or taller plant or sculpture at the center. Place any decorative items you want to use between plants, or place larger items where you want them before putting plants in, so that you don't squish any plants while decorating. Use mulch around the plants to regulate soil temperature and keep out weeds. Add different sizes and shades of river rocks, pebbles or stones for different effects, along the edges of your spiral. Herb plants I like to use ... My herb choices would be oregano, lemon balm, lemon verbena, chives, lavender, chives, garlic chives, basil, rosemary, parsley, sage, scallions, chamomile. Any ornamental herb works well, too. Check the mature heights of the plants you choose, and put them on the levels accordingly. Smaller plants go on the outer levels, tallest at the top of the spiral. Nasturtium and marigold flowers
planted within your spiral or around it, will protect
your herbs from destructive insects. Bear in mind that if you plant any
mint variety in your spiral, it will spread all over the garden and beyond. I'd plant that in
it's own pots within the spiral, to control the aggressive roots. You'll
never control them if you don't. I know this from experience. Best idea is
to plant the mint in big plastic pots around your spiral garden, but not
in it. Mints are perennial, so you don't need to bring them in for the
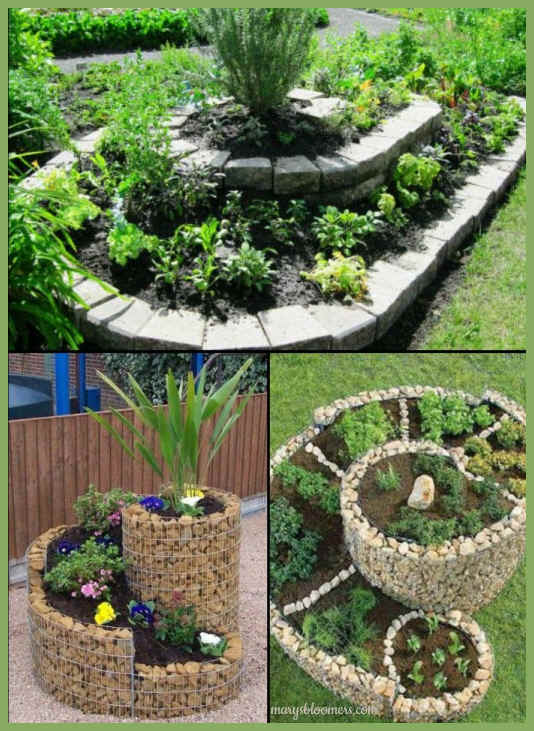
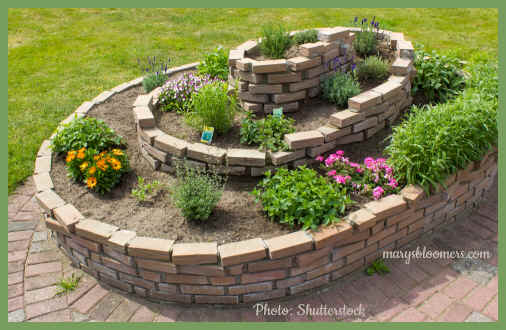
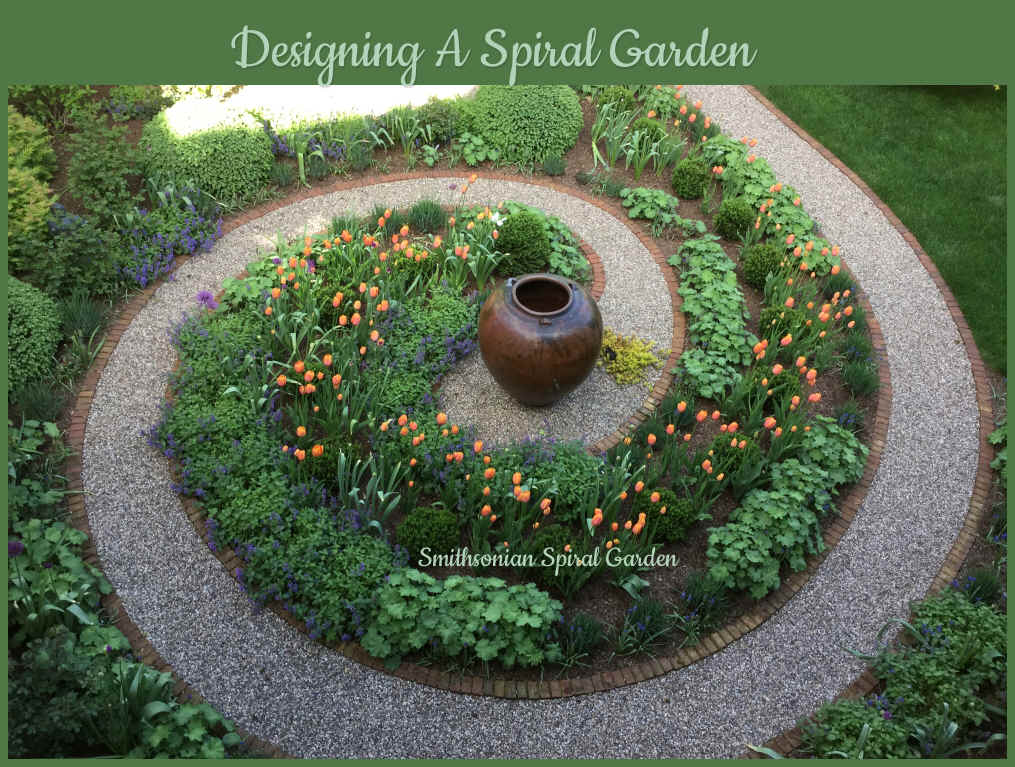
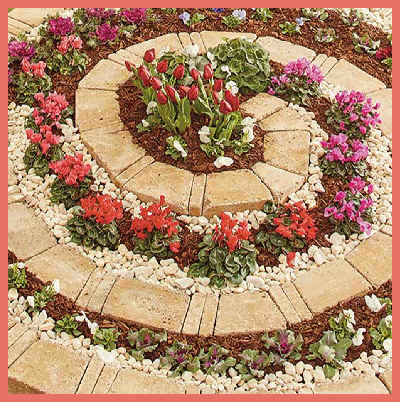
winter. Here are some pretty versions and configurations of spiral gardens you might like to try.
|

|
|
|
| sources: Wikipedia Home Depot Garden Center Smithsonian Institution, Archives of American Gardens |